We are no longer building saddle trees, but we have two videos about how Western saddles fit horses available on our westernsaddlefit.com website.
Building the Bars
 |
 |
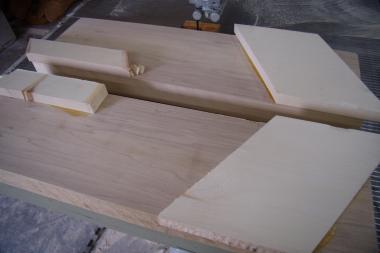
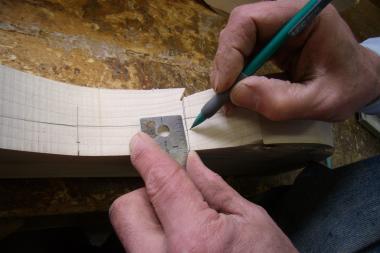
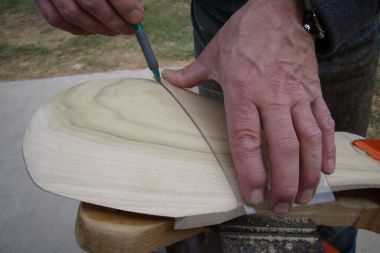
| Every set of bars is built individually for a specific tree. We start out with rough, 2” thick yellow poplar. The wood is cut to the proper length, then jointed and planed. Extra pieces of aspen or pine are glued on where needed for a little extra thickness. | The angles for the fork and cantle cut are marked on the inside edge of the bars at the appropriate distance for the correct seat/thigh length. |
 |
 |
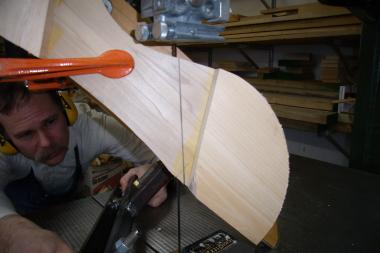
| The bar outline pattern is marked on the bottom of one bar, and then cut out on the band saw. | To ensure the bars are totally symmetrical, the pattern is traced from the first bar to the second before it is cut out. |
 |
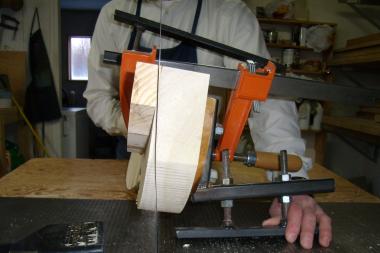 |
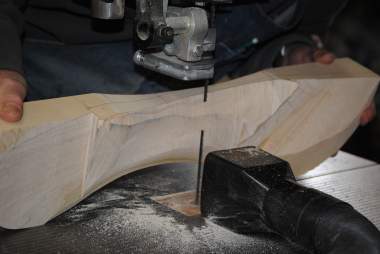
| The bars are clamped in jigs set at exact angles to make the fork and cantle cuts precise. | The cuts are made following the angle lines drawn on the inside edge, which sets the angle for one dimension. The angles for the other two dimensions are set by the jigs. Different jigs are used depending on the specifications for the tree. |
 |
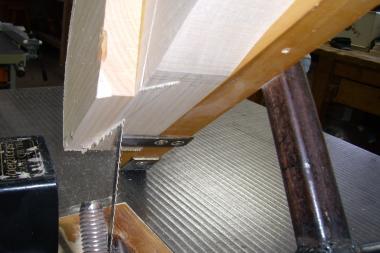 |
| Making the short, front cut for the cantle. | Cutting the glue surface for the cantle. |
 |
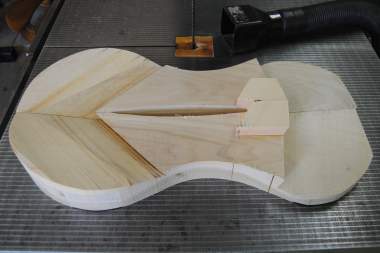 |
| Cutting the glue surface for the fork. The short cut on the fork has already been made. | Set of bars with fork and cantle cuts finished. |
 |
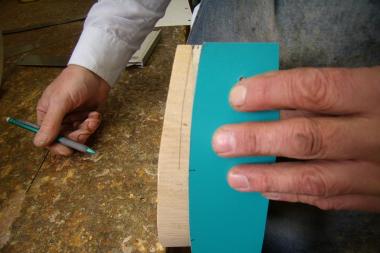 |
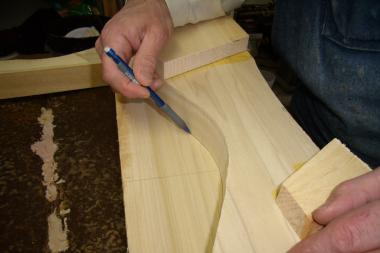
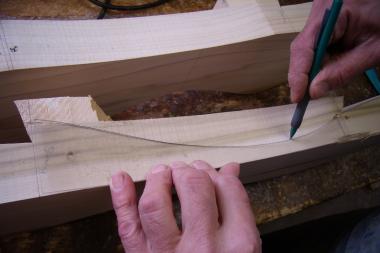
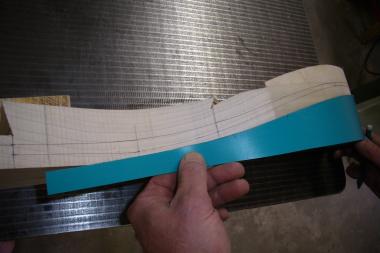
| The edges of the bars are then marked out, using a combination of patterns for both the inside | and outside edges |
 |
 |
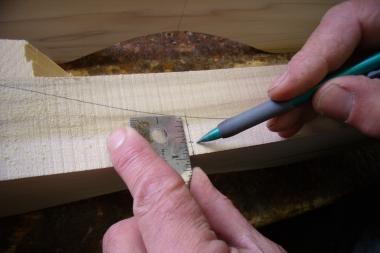
| and measurements | in numerous places. |
 |
 |
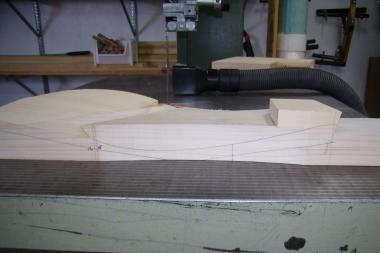
| The inside edge marked out. You will notice that top and bottom lines are not equidistant from each other. | The outside edge marked out. The way the edges are marked out is what sets the rock and the twist of the bars. |
 |
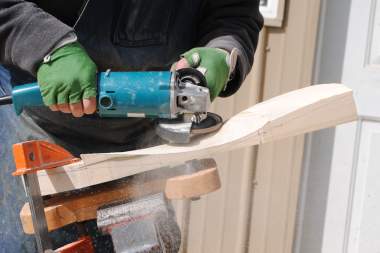 |
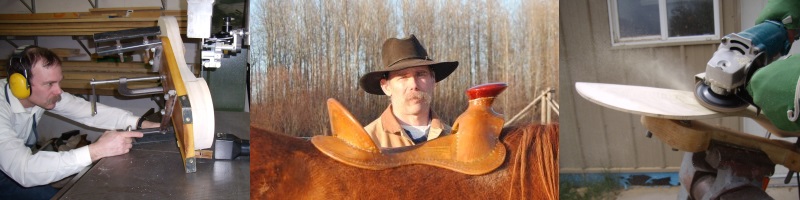
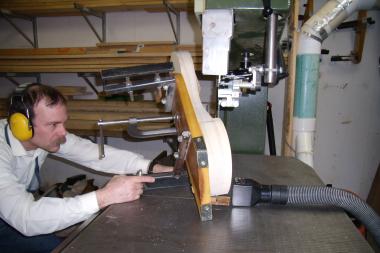
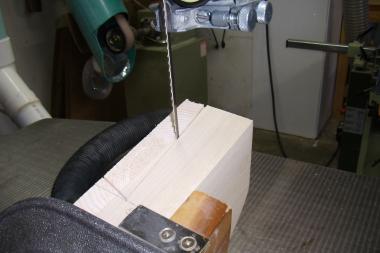
| Shaping starts with the top. Initially, the band saw removes large sections. | Next a side grinder with a carbide grinding disc is used to get the shape as close as possible without taking too much wood. |
 |
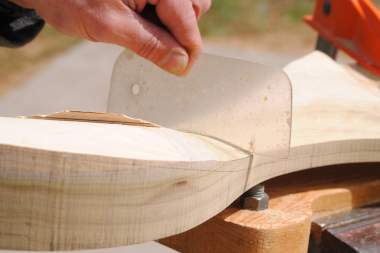 |
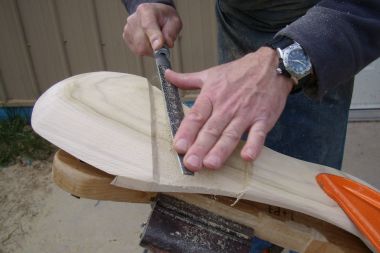
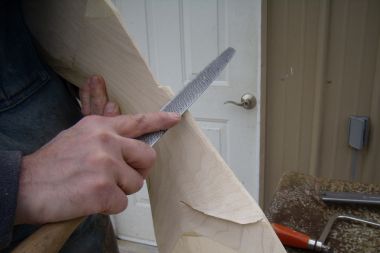
| Then the rasp gets it down | till the pattern for the seat fits perfectly. |
 |
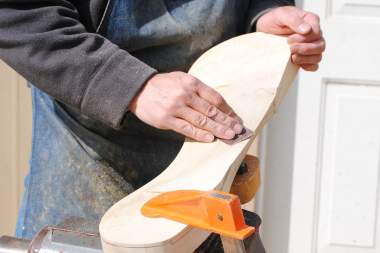 |
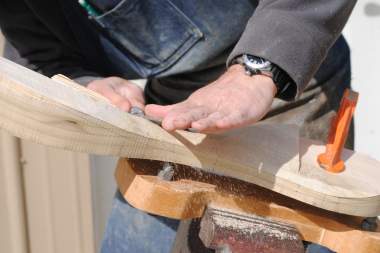
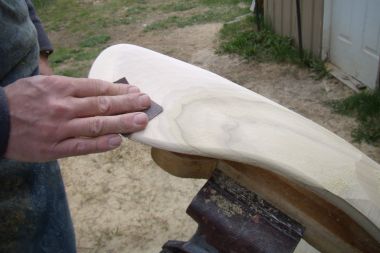
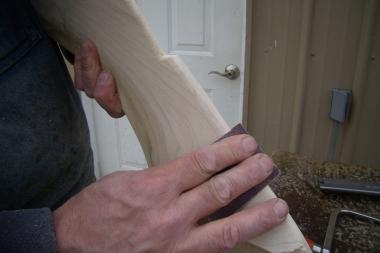
| Feeling, rather than looking, is the best way to tell if the shape is smooth and even. | Sandpaper is used as the final step. |
 |
 |
| Shaping the bottom follows the same steps. As much as possible is removed with the band saw | then the side grinder |
 |
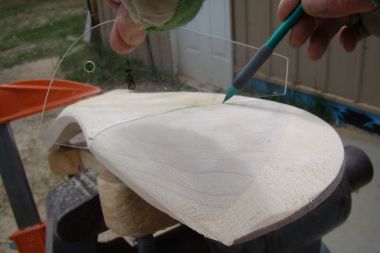 |
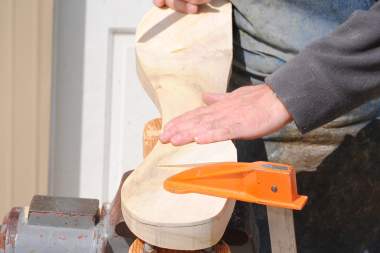
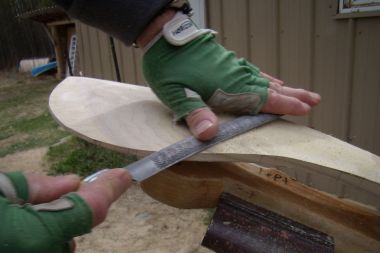
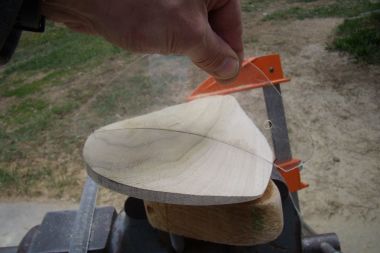
| then the rasp. | The pattern is used to find and mark the high spots |
 |
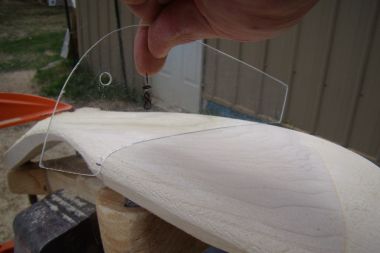 |
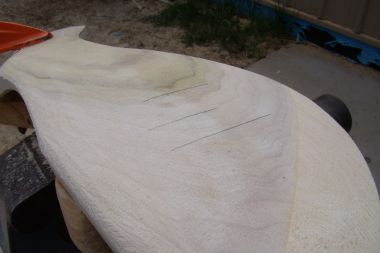
| showing where they need to be shaped more | until the bar matches the pattern. |
 |
 |
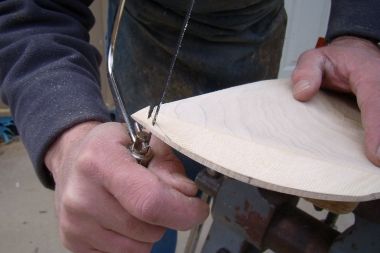
| The back bar tip is shaped and smoothed | and the final result is finished with sandpaper. |
 |
 |
| The front of the bar is shaped following the same sequence. | The stirrup groove is marked based on the measurement marks still visible on the bar edges. |
 |
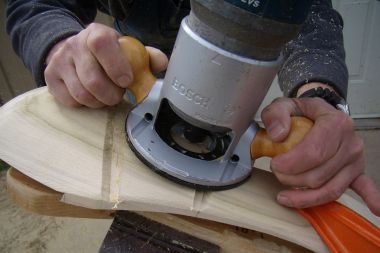 |
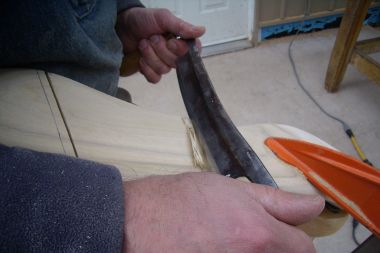
| The edges of the stirrup groove are given ¼” bevel using a draw knife. | The groove is routered out ¼” deep, |
 |
 |
| and rasped smooth. | The stirrup notch on the top of the bar is cut to pattern. |
 |
 |
| Finally, all edges of the bar are rounded | and smoothed. |