We are no longer building saddle trees, but we have two videos about how Western saddles fit horses available on our westernsaddlefit.com website.
Building a Wood Post Fork
 |
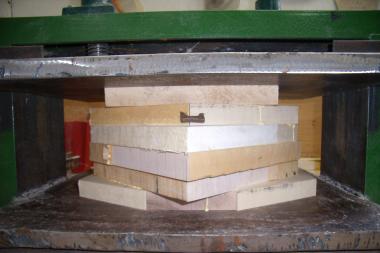 |
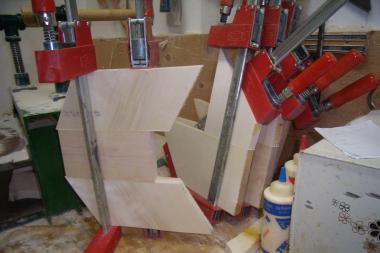
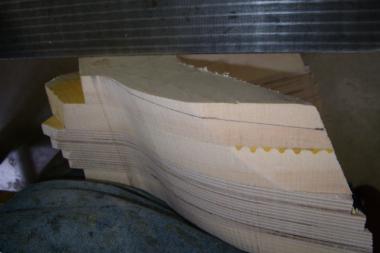
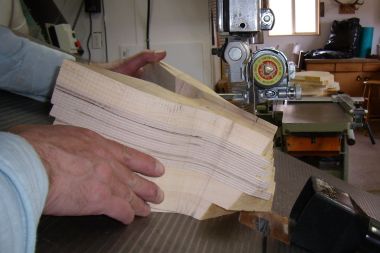
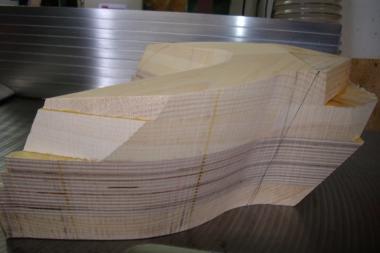
| The horns on all our wood post trees (Wades or swell forks) are part of the original laminated block of wood we start with. Hardwood (1” maple or layers of Baltic Birch) makes up the entire horn and center layers of the fork, with pine elsewhere to cut down on weight. | The layers are glued so that the grains run in different directions, then laminated together in a glue press. |
 |
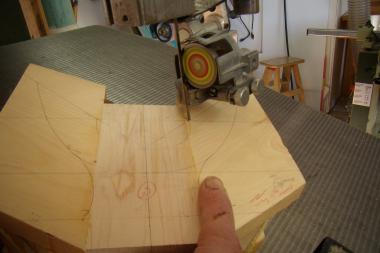 |
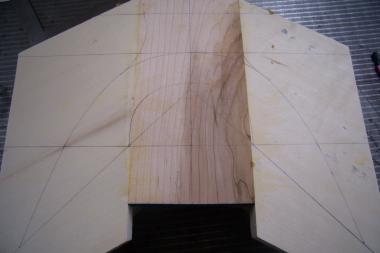
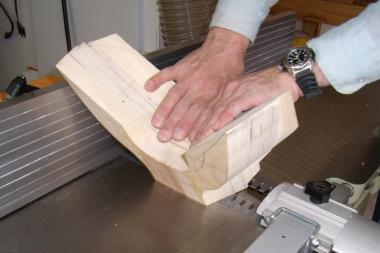
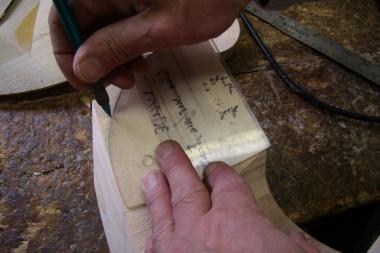
| The pattern is marked out. The hand hole width and angle set the bar width and angle. The height of the arch sets the hand hole height and, along with the gullet thickness and top cut angle, sets the gullet height also. The height of the back of the horn depends on the combination of horn height and pitch. The shape of the fork outline is based on the fork style and width ordered. | The bottom of the fork is cut with the table tipped to the angle which correctly sets the amount of forward lean to the fork. |
 |
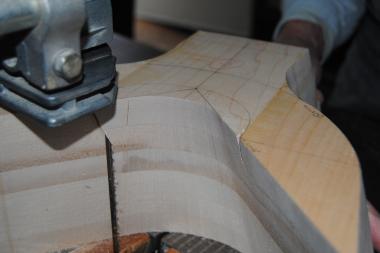 |
| The angle is changed for cutting out the sides | and the hand hole is cut out with the table flat. |
 |
 |
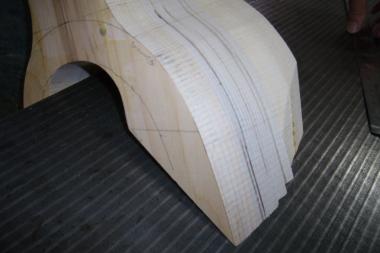
| Guide lines for shaping are measured out, then drawn on the fork. | Measurements and lines are drawn to make the correct amount of back cut when needed for forks with thicker stock. |
 |
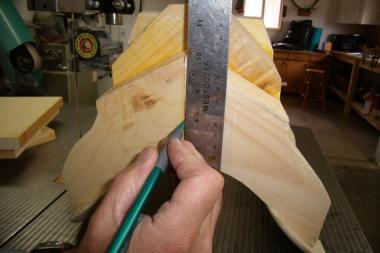 |
| The fork is temporarily attached to the bars to ensure everything is square. Then the attachment points of the bar are marked on the back of the fork. | The correct height for the gullet lip is measured and marked. |
 |
 |
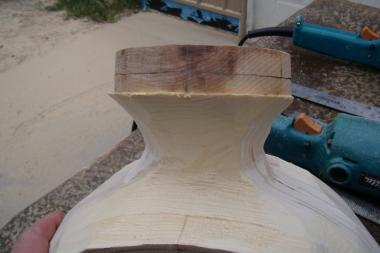
| With the table tilted to the correct angle for the ordered horn pitch, the top of the fork is cut off. | It is then planed so the cap will be glued to a totally flat surface. |
 |
 |
| Based on the previous markings, the back cut is sanded and then planed to make it perfectly flat and even side to side. | Using the markings made when the fork was on the bars as guides, the gullet lip is marked out. |
 |
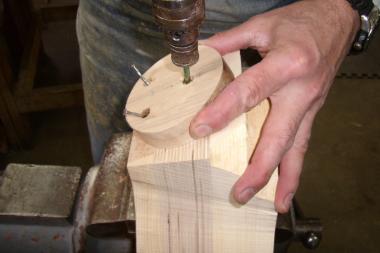 |
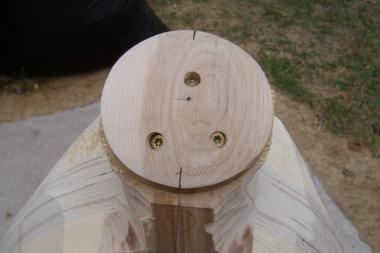
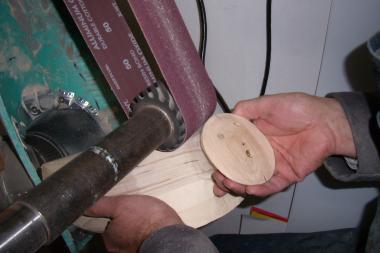
| In the same way, the glue surface for the bars are marked on the bottom of the fork. | The horn cap is carefully glued and screwed in place, making sure center lines always line up. |
 |
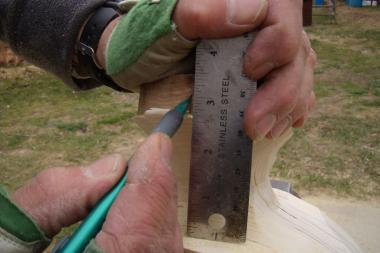 |
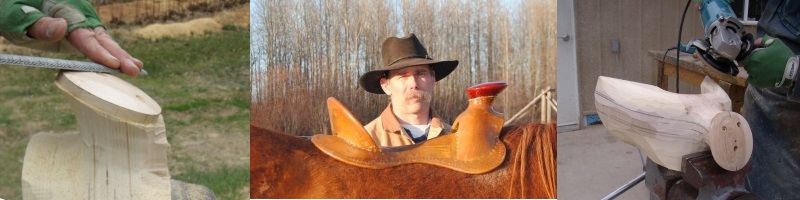
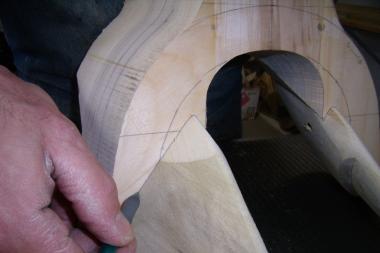
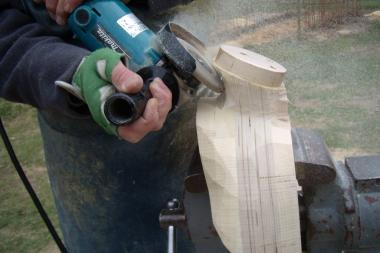
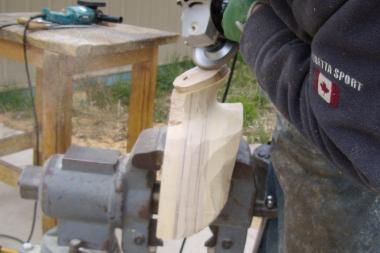
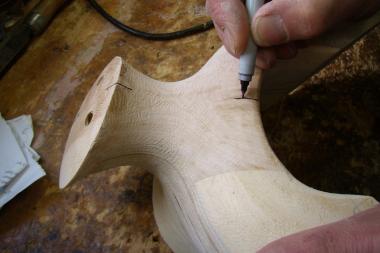
| The fork is clamped in the vise and a carbide wood grinding disc is used to shape the top of the gullet and get the majority of wood away from the front of the horn. | The correct horn height is measured and marked at the front of the horn cap. |
 |
 |
| A line is drawn all the way around the horn cap based on this measurement compared to the top of the horn neck. | Then the horn cap is shaped, starting with the carving disc |
 |
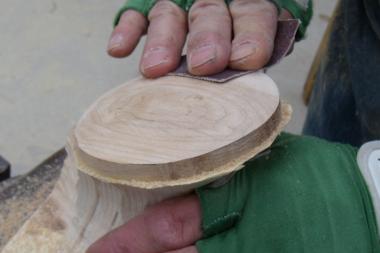 |
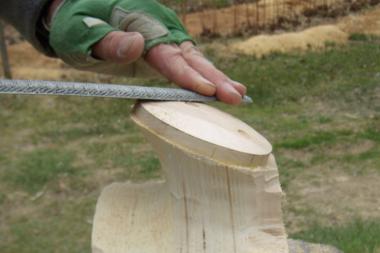
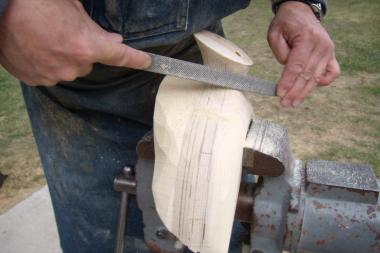
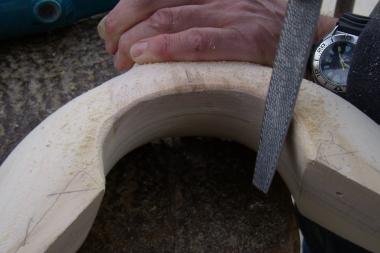
| moving on to the rasp | and using sandpaper as the final finish. |
 |
 |
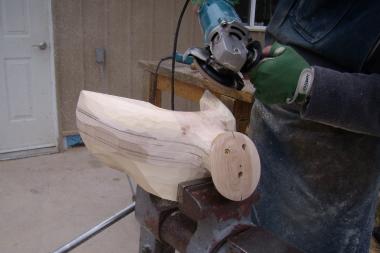
| Then the center marks, which had been kept on the edges all through the process, are permanently penned onto the cap. | With the horn cap finished, the grinder is used to continue shaping the neck of the horn, |
 |
 |
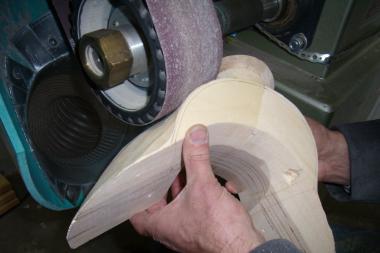
| and the front and back of the fork. | Then the sander is used to get the shape of the horn closer to what is desired |
 |
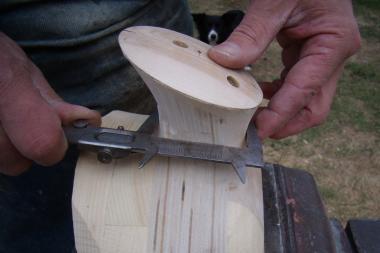 |
| and the rasp finishes the job. | Calipers are used all along the process to ensure the neck ends up the right thickness and symmetrical all the way around. |
 |
 |
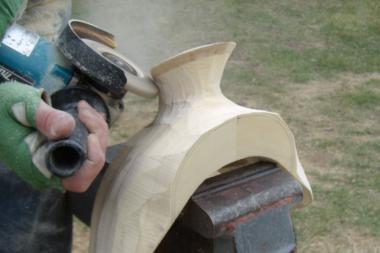
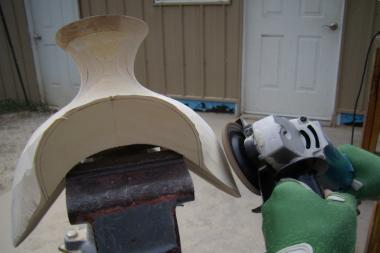
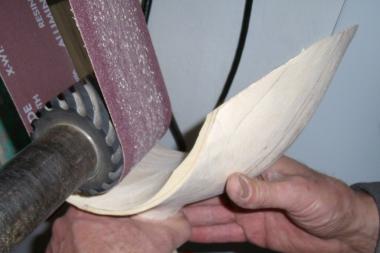
| With the horn done, the grinding disc | and the sander are used to shape the rest of the fork. |
 |
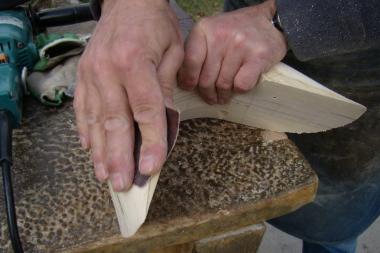 |
| The rasp is used to make everything smooth | and sandpaper finishes the job. |
 |
 |
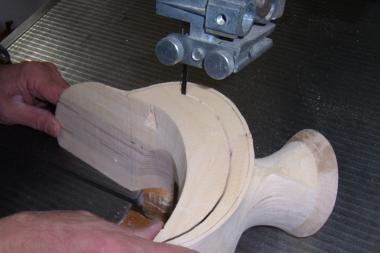
| With the table at maximum tilt, the majority of the excess under the gullet is removed by the band saw | and the sander is used to finish shaping the gullet. |
 |
 |
| The hand hole edge is rasped and smoothed with sandpaper. | To finish, the center lines, still visible from the original marking out of the fork, are made permanent. |