We are no longer building saddle trees, but we have two videos about how Western saddles fit horses available on our westernsaddlefit.com website.
Building a Metal Horn Fork
 |
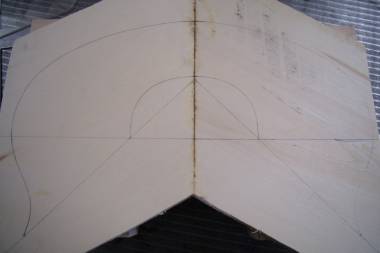 |
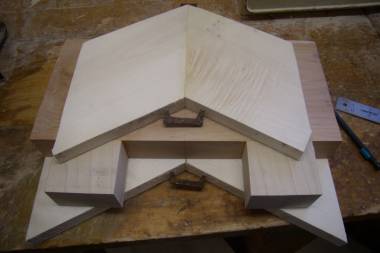
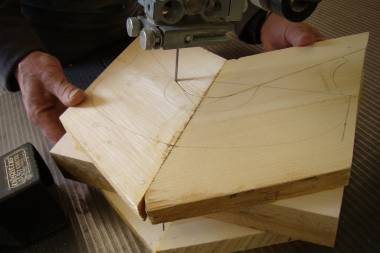
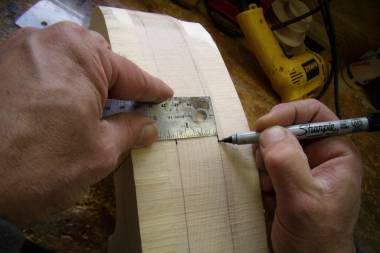
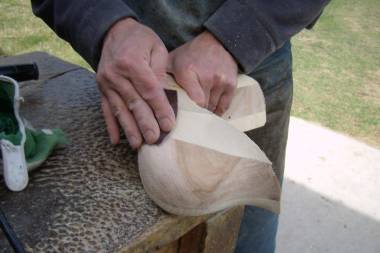
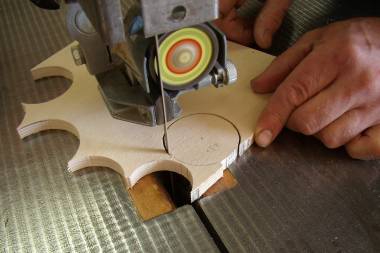
| A fork with a metal horn has a 2” thick piece of hardwood, usually maple, as its core with softwood laminated front and back. | The appropriate pattern is marked out. The angle marked on the fork sets the bar angle. The hand hole width sets the distance between the bars (called bar width or bar spread). The height of the arch sets the hand hole height, while height of the arch plus the gullet thickness, along with the top cut angle, determine the gullet height. |
 |
 |
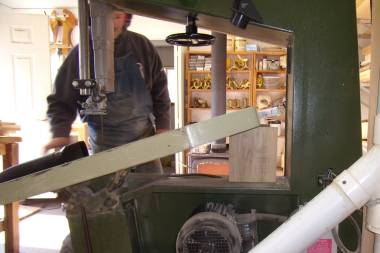
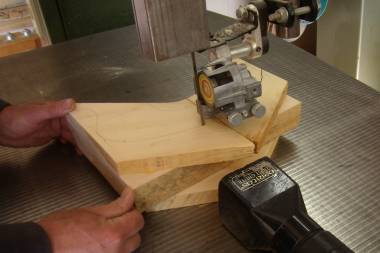
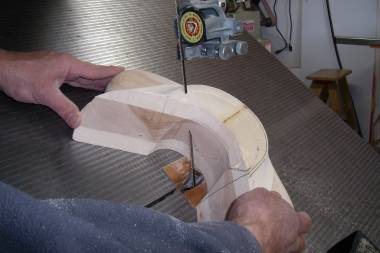
| The band saw table is tilted to specific angles when cutting out the different angles on the forks. The blocks of wood are used to keep the angles very consistent between trees. | The underside of the fork where it contacts the bar is cut first. |
 |
 |
| Then the top of the fork is cut at a lower angle. | Finally the sides and the hand hole are cut out with the table flat. |
 |
 |
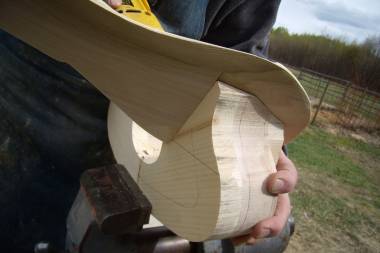
| The bars are temporarily screwed onto the fork making sure they are snug in the fork cuts on the bars. | Then the checking starts: Is the tree square? Are the hand hole height and the gullet height correct? |
 |
 |
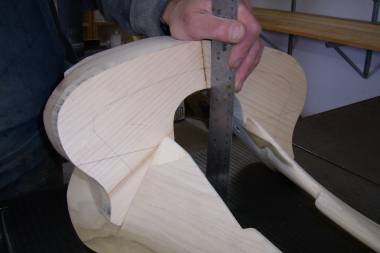
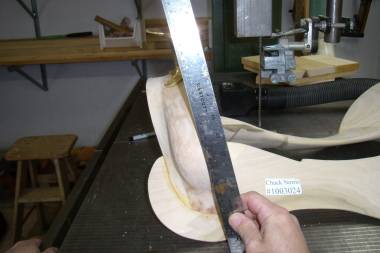
| Are both bars the same height at the cantle cut? | Is the cantle gullet the correct width? These things tell us that our angles and cuts are all correct. |
 |
 |
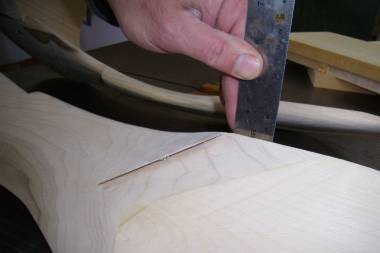
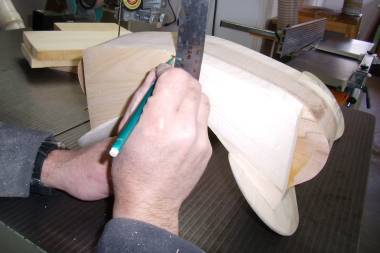
| The top of the fork is the top of the gullet lip, but the bottom of the lip is marked on now. | The bars are removed and the gullet is drawn on the fork. |
 |
 |
| The shape of the contact area between fork and bar is also drawn onto the bottom of the fork. | Guidelines for shaping, based on measurements, are drawn on the back, top and sides of the fork. |
 |
 |
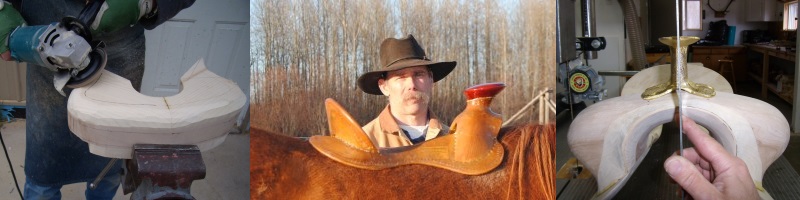
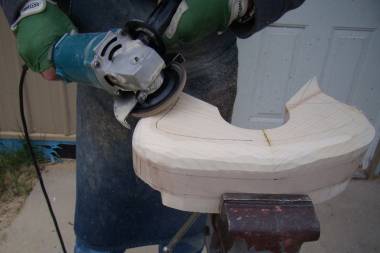
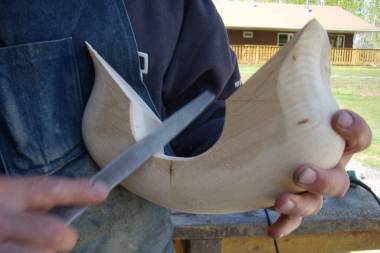
| Then the shaping starts. The grinder is used on the back | and then the front of the fork. |
 |
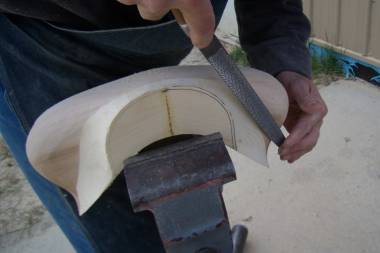 |
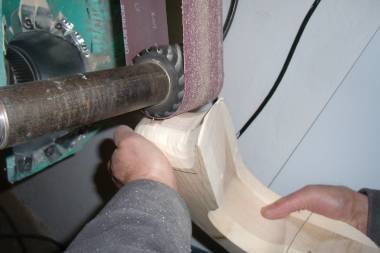
| The sander is used to get the shape close | before finishing with the rasp |
 |
 |
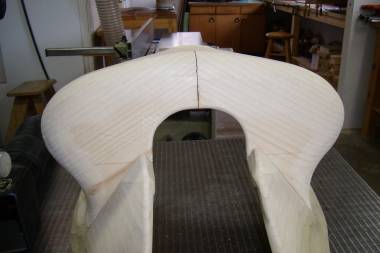
| and sandpaper. | With the table at maximum tilt, the shaping of the gullet is begun on the band saw |
 |
 |
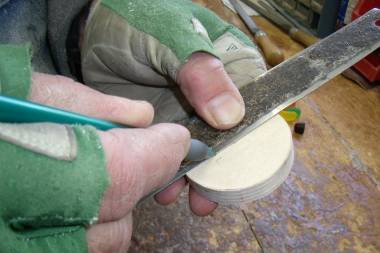
| and continued with the sander. | The hand hole is rounded with the rasp and smoothed with sandpaper to finish. |
 |
 |
| The center lines, which have been kept from the initial marking out, are transferred around the fork. Then the rest of the tree is finished and put together before the horn is added. | The horn cap of the specified size is cut out of Baltic birch plywood. |
 |
 |
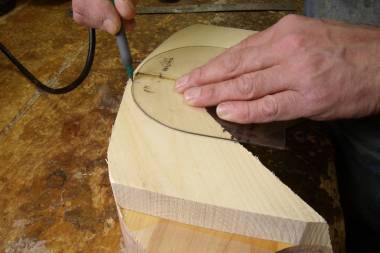
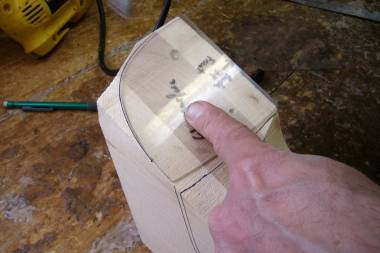
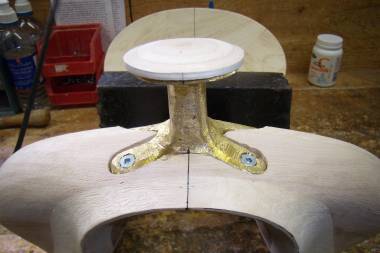
| The center line is drawn across the cap based on the center mark from the pattern. | Center marks are made on the horn. |
 |
 |
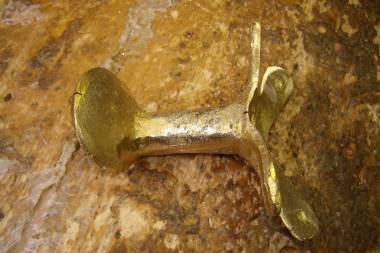
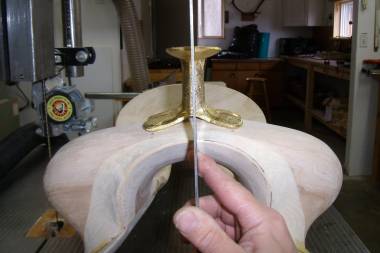
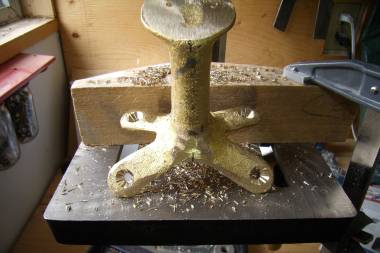
| The feet are adjusted | so the horn sits squarely |
 |
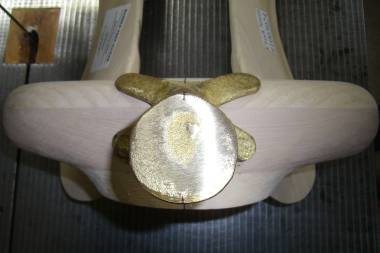 |
| and evenly on the fork | no matter from which direction you check it out. |
 |
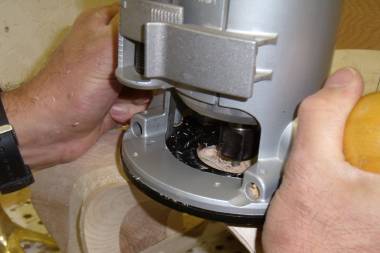 |
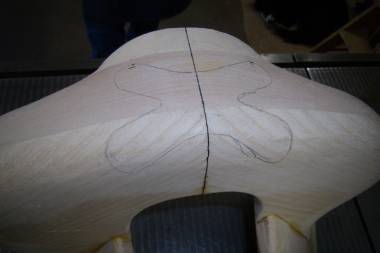
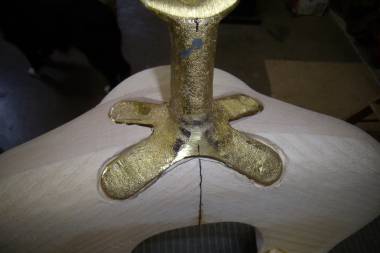
| After tracing around the horn | the router takes out wood to ¼” depth |
 |
 |
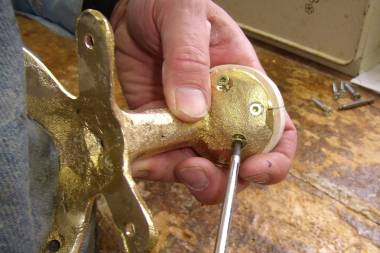
| so the horn sits down squarely into the fork. | Holes are drilled and countersunk in the horn, both for the horn cap and to attach the horn to the fork. |
 |
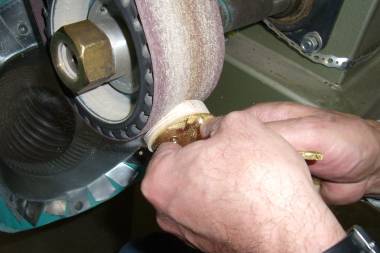 |
| The cap is attached, keeping all center lines carefully lined up. | The cap is then shaped on the sander. |
 |
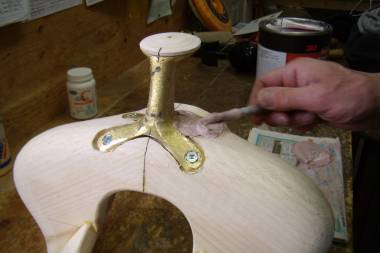 |
| Finally, the horn is screwed into the tree, square and solidly in place. | Auto body filler is used to fill around the horn, then sanded flush with the fork so everything is smooth. |