
We are no longer building saddle trees, but we have two videos about how Western saddles fit horses available on our westernsaddlefit.com website.
Building a Cantle
 |
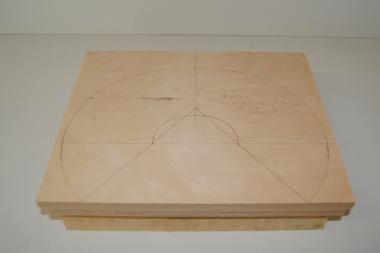 |
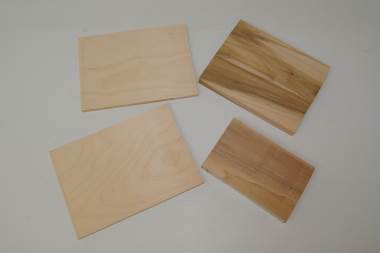
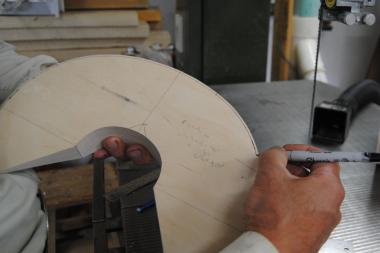
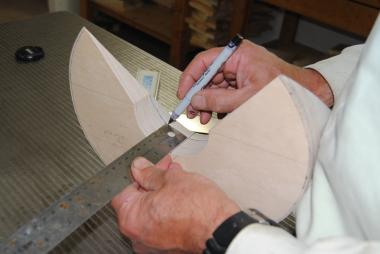
| We laminate all our cantles. Two, ½ inch thick sections of Baltic Birch plywood make up the front inch, with two 1 inch pieces of yellow poplar behind them. | Every cantle pattern marked out on the laminated cantle block varies not only with cantle height and width, but also with the cantle type (regular or Taylor), cantle angle and hand hole width. |
 |
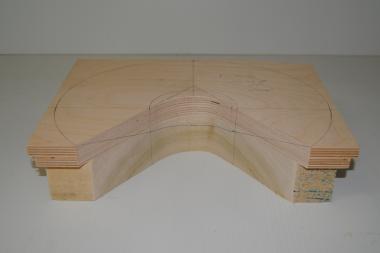 |
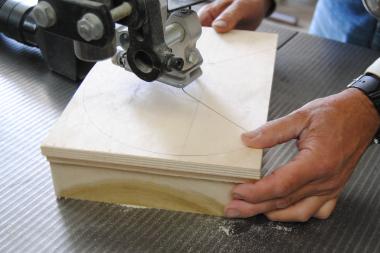
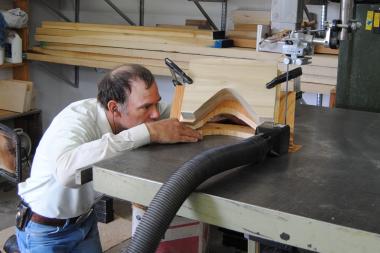
| The band saw table is flat when cutting out the cantles. The first cut removes the excess from the middle. | The angle that makes the cantle fit flat on the cantle cuts on the bars is then marked. It varies with the bar angle, cantle angle and cantle type. |
 |
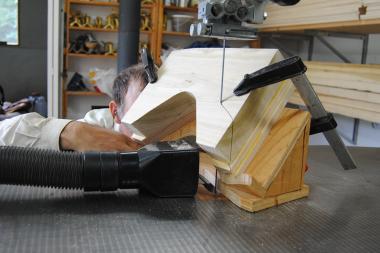 |
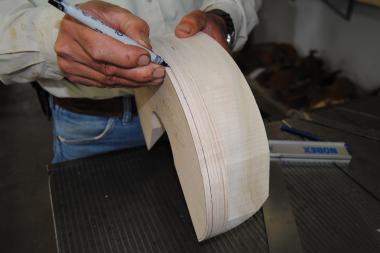
| The cantle is clamped face down to the correct jig for the cantle angle required. | Following the angle lines last marked, the band saw cuts off the bottom, leaving the proper three dimensional angle that fits precisely onto the bars. |
 |
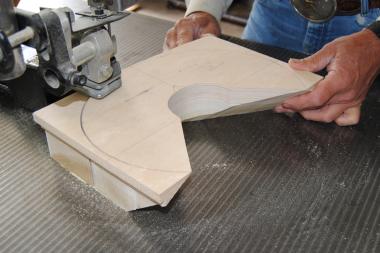 |
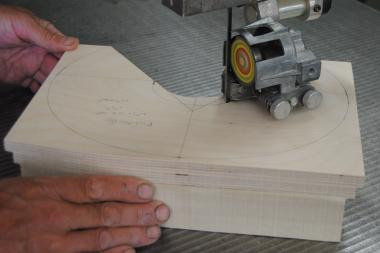
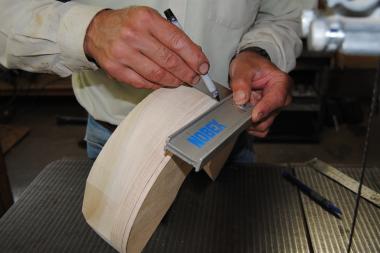
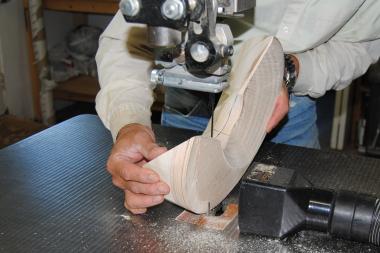
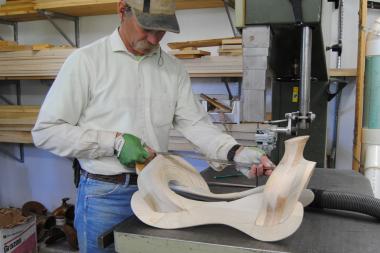
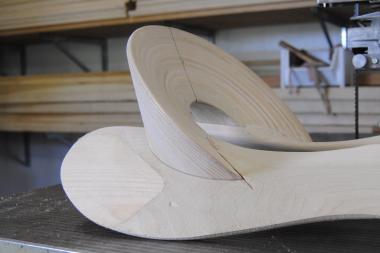
| Then the gullet | and the outline of the cantle are cut out. |
 |
 |
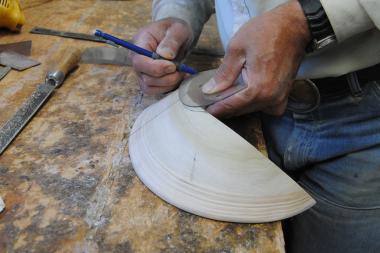
| Guide lines to use in shaping the cantle are marked on the front |
and the top of the cantle rim. |
 |
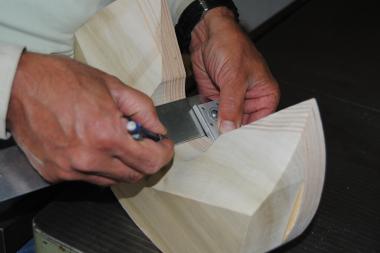 |
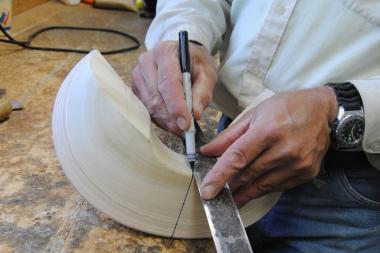
| The center line originally used in marking out the cantle is transferred to the top | and the gullet of the cut out cantle. These center lines are maintained throughout the building of the cantle. |
 |
 |
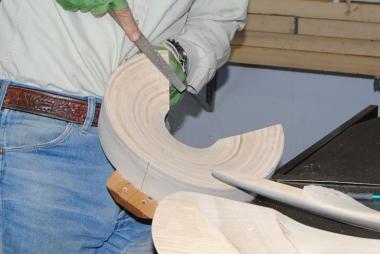
| The correct depth for the dish is measured in from the front of the cantle and marked in the gullet. | A pattern is marked on the bottom of the cantle that will set the slope and shape of the cantle back. |
 |
 |
| As much as practical is removed from the dish with the band saw |
and then the cantle is clamped in the vise so the carving can begin. |
 |
 |
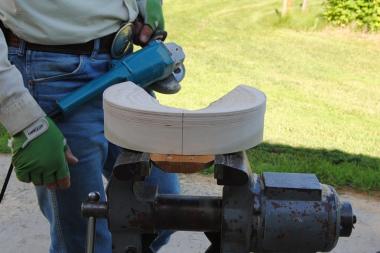
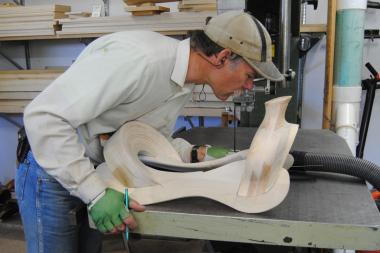
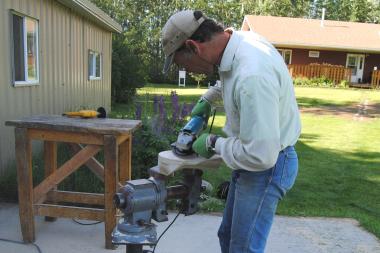
| The carbide wood carving disc is used to rough carve the cantle, leaving a bit extra along the bottom edge that will fit under the cantle cuts on the bars. | The seat length is checked to ensure it will be correct. |
 |
 |
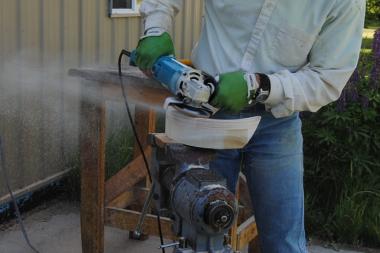
| Then the bottom edge is finished. The grinder is used first. Here the side on the left is being worked on while the side on the right has yet to be done. | The edges are then finished by rasping to make the cantle fit snugly into the cantle cuts. |
 |
 |
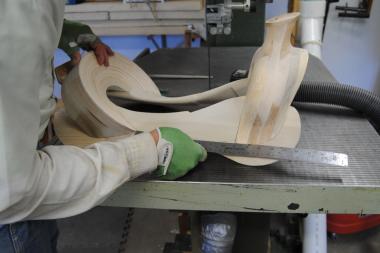
| The tree is measured in multiple ways | to ensure it is square and even. |
 |
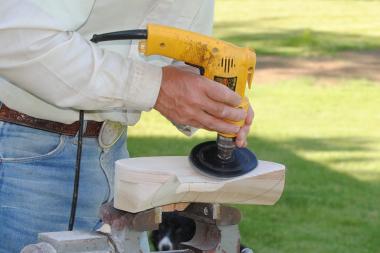 |
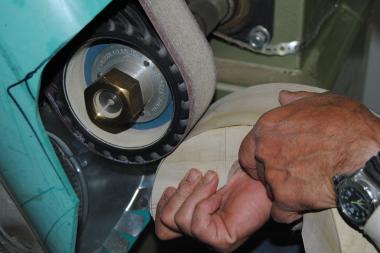
| With the cantle fit properly, the dish is then finished – first with the grinder | and then with a sanding disc. |
 |
 |
| Feeling is better than seeing when it comes to smoothness. | With the dish finished, the center line is permanently marked down the front of the cantle by transferring the lines from the top and the gullet. |
 |
 |
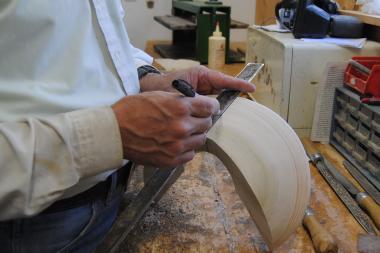
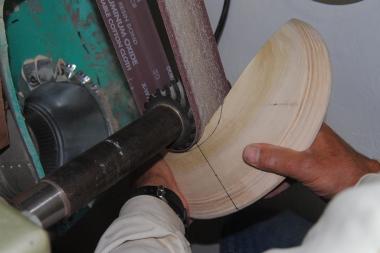
| Using a jig and the lines previously drawn on the top and the bottom of the cantle as guide lines, the back of the cantle is roughly cut off. | The belt sander is used to sand the back smooth and even between the lines. |
 |
 |
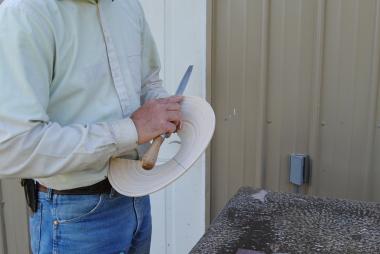
| The edge is rounded with the rasp | and smoothed with sandpaper. |
 |
 |
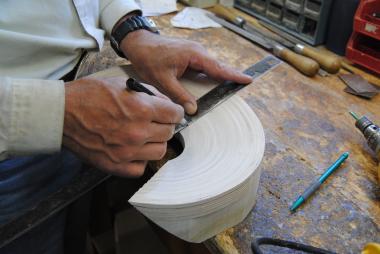
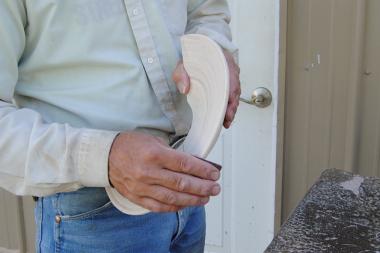
| The center line is marked down the back of the cantle by transferring the lines from the front and the gullet. | A pattern is used to mark the cantle gullet on the back of the cantle. |
 |
 |
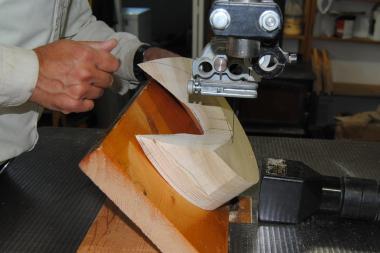
| The cantle gullet is shaped on the small wheel on the sander. |
The edges are rounded with rasp and sandpaper. |
 |
 |
| The center line is transferred inside the finished gullet. | And the cantle, fitting tightly into place on the bars, is finished. |