Cantles - making them symmetrical
We are no longer building saddle trees, but we have two videos about how Western saddles fit horses available on our westernsaddlefit.com website.
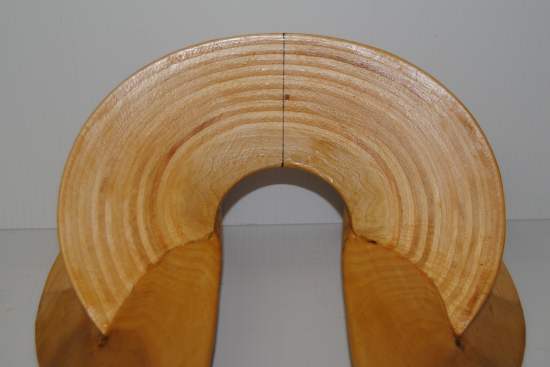
I was once asked "How do you make trees symmetrical if you don't have a duplicating machine?" It was a new question to me, and it rather surprised me since one of the things that new customers often comment on is the symmetry of our trees - that patterns that work on one side can just be flipped over and they work on the other side too. So I stammered around a bit trying to answer, talking about marking and keeping center lines, being particular in measuring everything, consistent patterns, lots of double checking to make sure things are the same side to side. (That's my part.) But something I didn't think of at the time was just sheer craftsmanship - the ability of eyes and hands to see symmetry and make things symmetrical. (That's Rod's part.) So I thought I would take some pictures and show you how we do it for cantles.
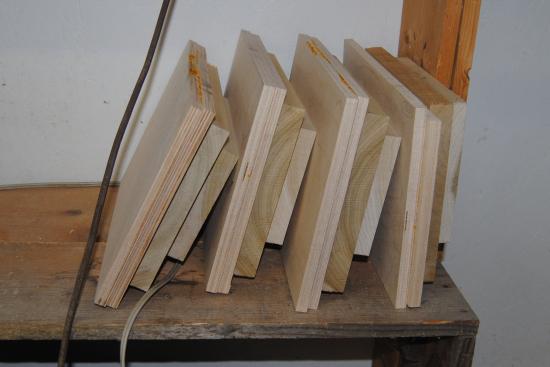
Here are some cantles glued up. Two layers of 1/2" Baltic Birch plywood (less than 1/16" laminations of solid birch) then two layers of yellow poplar.
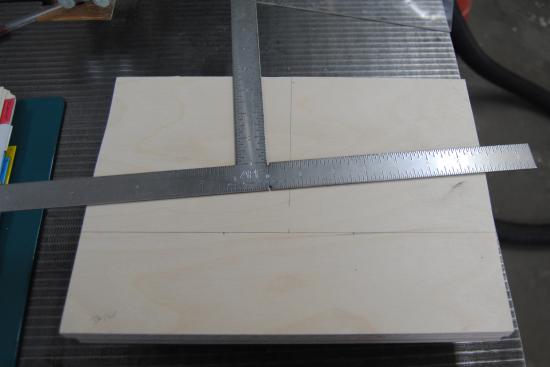
This is how I mark out a cantle, starting with vertical and horizontal center lines that are exactly perpendicular to each other. We know they are exact because we had a special flat T square made up just to do the marking out for cantles and forks. It is marked in 1/32" increments in the areas we need that fine of precision for keeping things square when we mark them out.
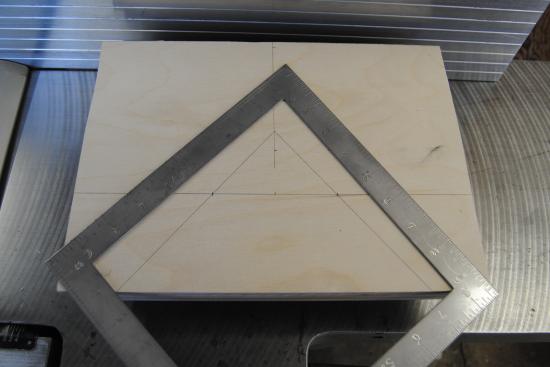
The angle is then marked on using special angle tools, also marked out to 1/32" in critical areas, that we had specially made in the same way.
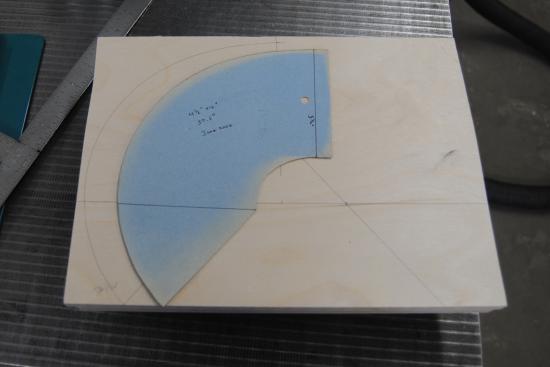
Then the pattern, marked with horizontal and vertical lines, is drawn on one side,
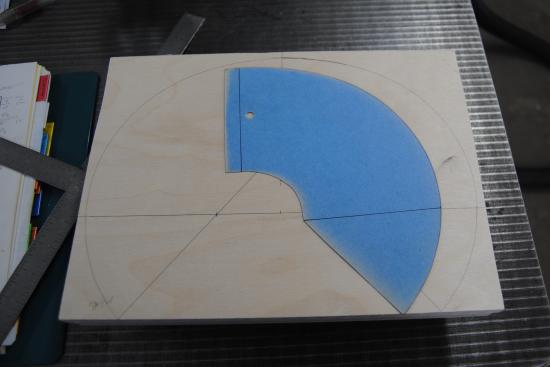
then flipped over to draw the same curve on the other side.
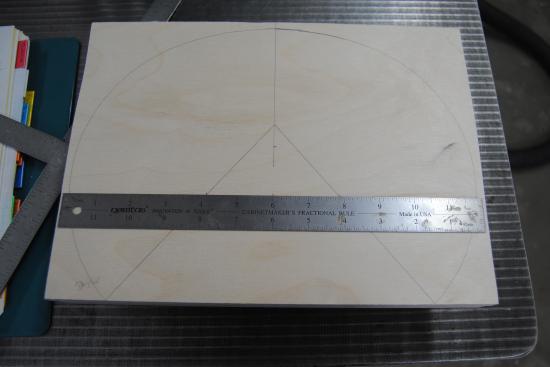
Any questions about symmetry are checked by measuring from the center line to the curve as it crosses the horizontal line.
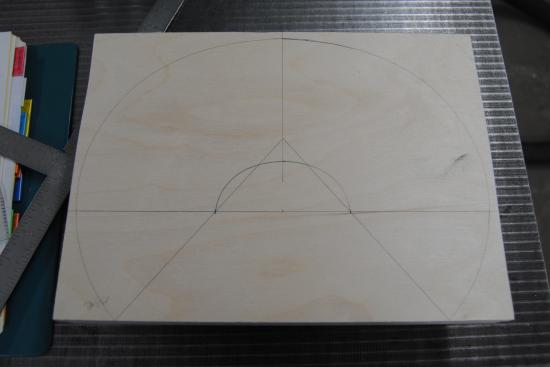
And with the cantle gullet drawn in, it is ready for Rod to start cutting.
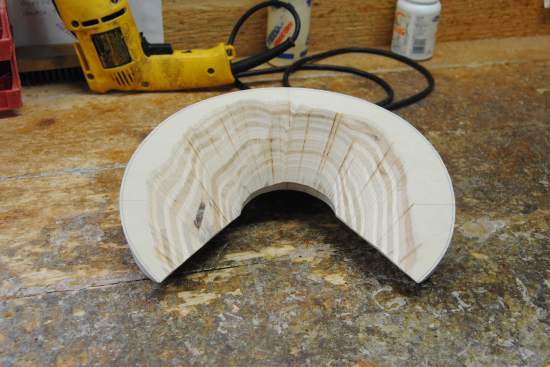
The bottom of this cantle has been cut on the angle and then the outline of the rim has been cut out as well. Then Rod uses the bandsaw to rough cut some of the dish out of it. You can see the laminations of the Baltic Birch as it is cut away.
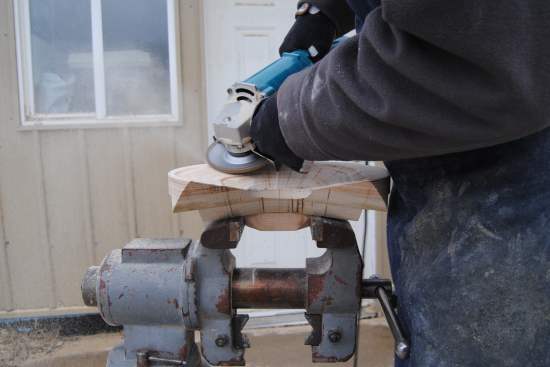
With the cantle clamped in the vice, Rod starts with the carbide grinding disk to take away the wood and leave the correct amount of dish behind.
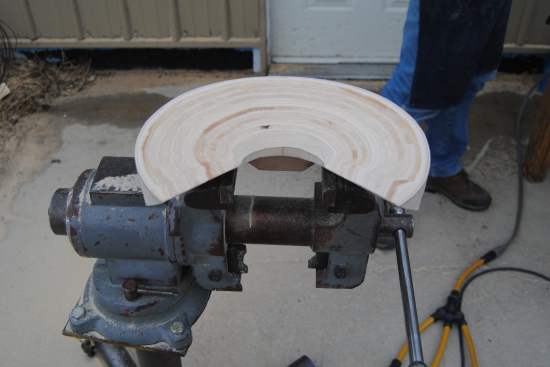
Here it is mostly done but it is still rough. He has to check some things first before he finishes.
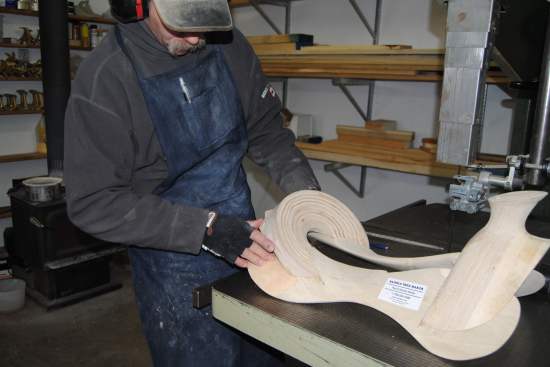
The cantle is then fitted carefully onto the bars
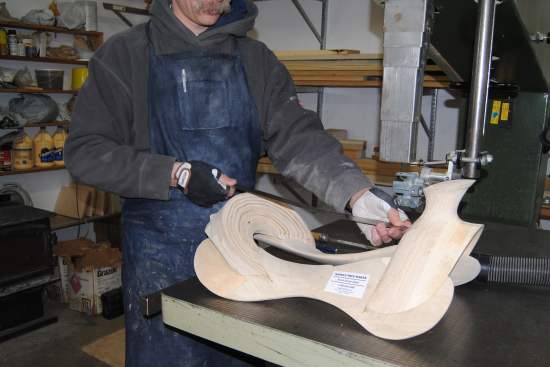
and the seat length is measured to make sure it is correct.
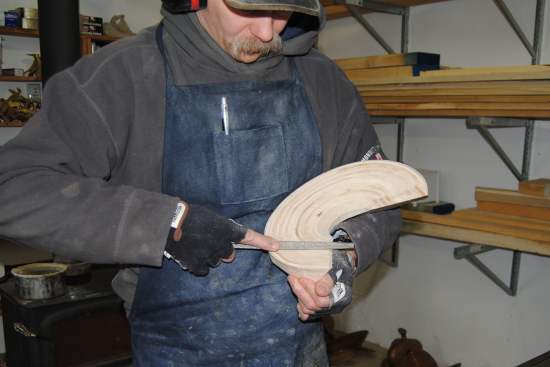
Rod uses a rasp to fine tune the fit for the proper seat length.
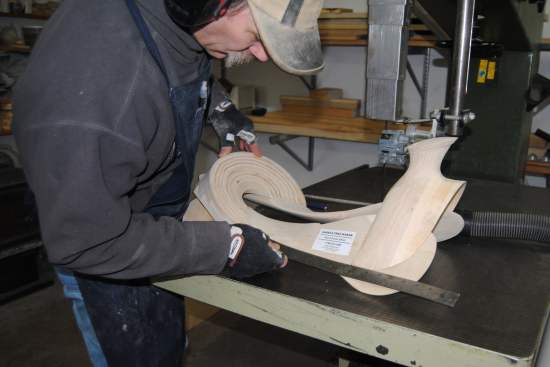
Then measurements such as thigh length are checked side to side to ensure symmetry.
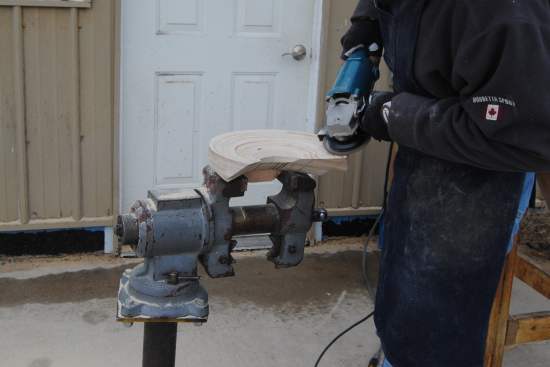
Back outside to finish the dish, starting again with the grinder.
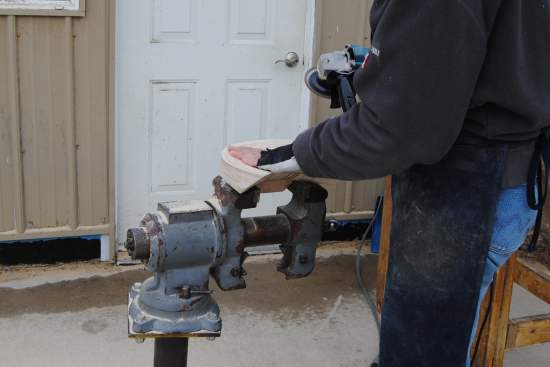
Fingers are often more sensitive than eyes to feel the subtle differences where the dish isn't smooth.
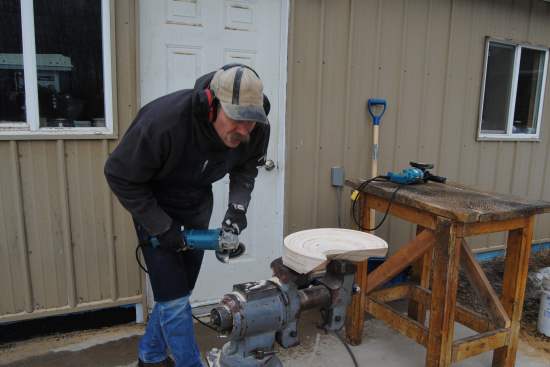
But there is lots of careful looking as well. The Baltic Birch is nice because you can see the symmetry more easily, but you can see it anyway - if you have skilled eyes and take the time to look.
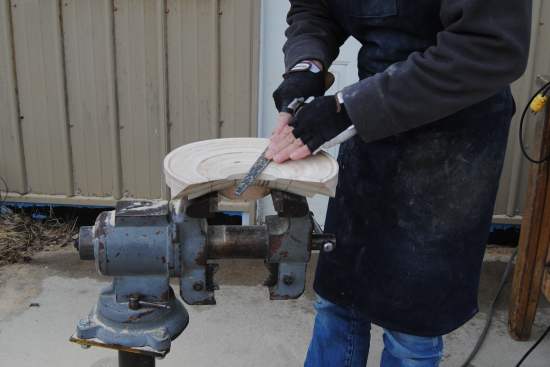
The rasp then does some finer work
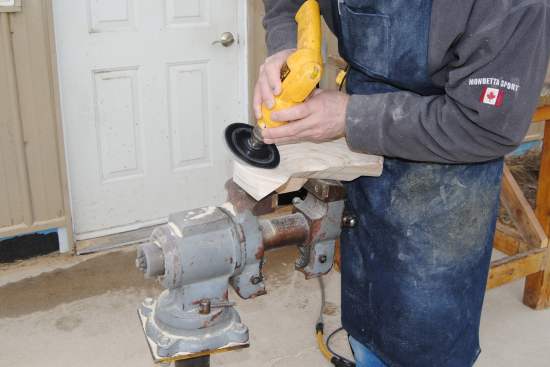
and it is on to the sanding disc to make it really smooth and do the finest shaping.
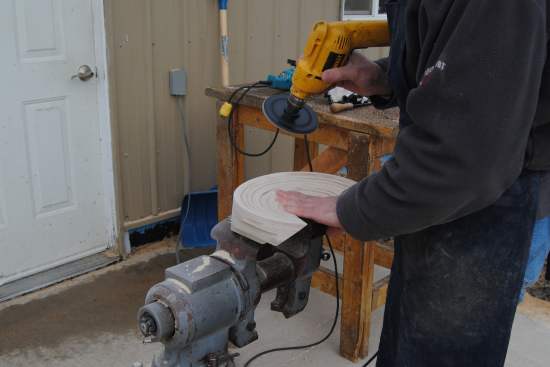
Again, fingers are more sensitive than eyes and get used a lot to "see" the evenness all around the curve.
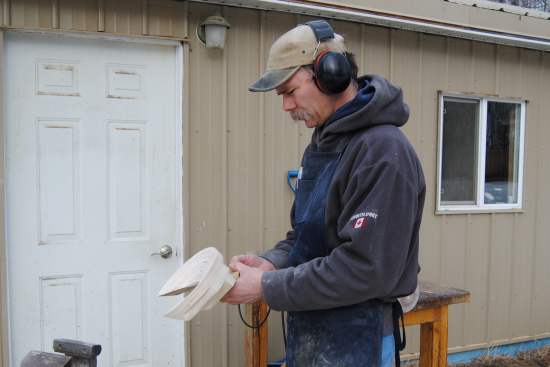
More careful look overs,
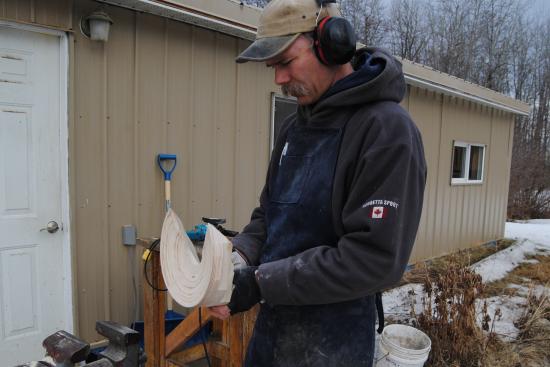
and it is deemed "done".
So how do we make it symmetrical? Careful measurements, and skilled eyes and hands, just the way good trees have always been made...
(Click these links for more pictures of building a cantle, or building the rest of the tree too.)
